How your phone can take better photos in all conditions
That smartphone you're holding not only has a camera, but it probably has a decent one capable of taking good photos. Getting better shots is a matter of knowing the camera you have and following some basic fundamentals wherever you are.
One of the basic principles of photography is that you enjoy doing it. Your taste doesn't have to match someone else's, but even before you think about it from an artistic or technical perspective, there's nothing wrong with wanting to learn along the way. The best part is this guide is easy to remember once you start using these tips.
Take your smartphone photography to another level
Smartphone Photography eCourse, powered by Android Central
Hosted by Android Central's Alex Dobie
Join us for a deep dive into everything you need to know to take better photos. Composition, software features, and editing are just some of the features we'll be tackling together in this course.
Never use the flash
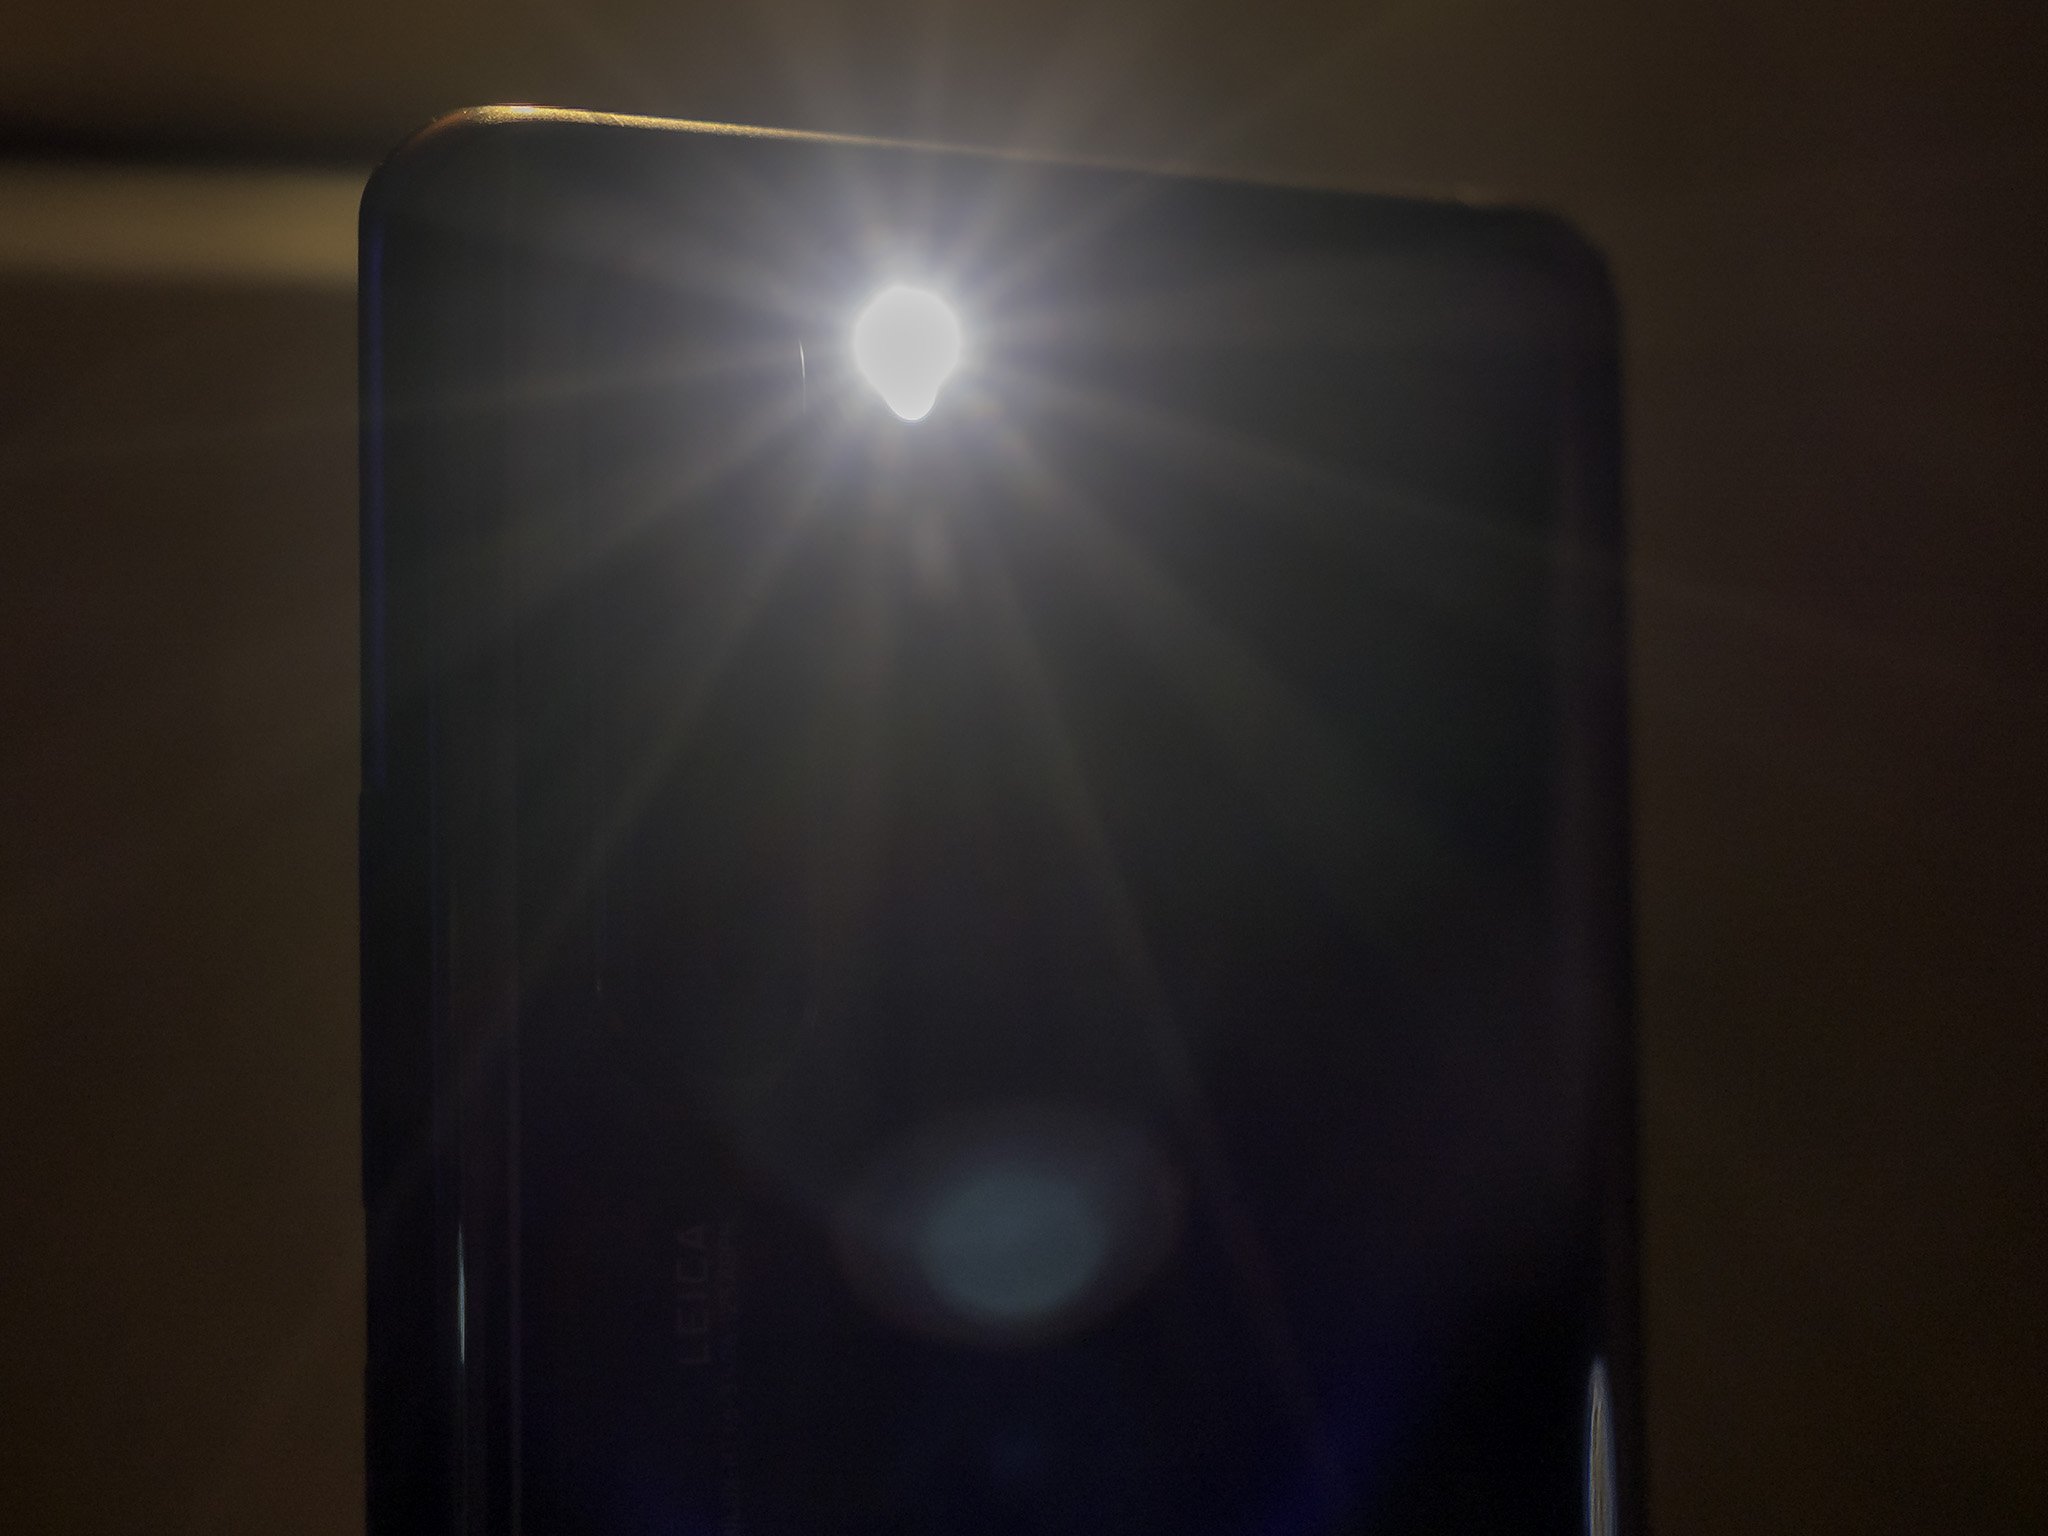
Phone manufacturers may put an LED flash on their phones, but it's far more useful as a flashlight than it is otherwise. These LED flashes are not only small but also emit a harsh burst of light. I have personally seen people use them through windows or when facing mirrors. Not only does the light bounce right back into the lens, but it also does nothing to illuminate the subject properly.
It's awful, but the effect is even worse on a phone.
Flashes that face a subject head-on are even frowned upon with DSLR or mirrorless cameras, which is why photographers angle the flash or use a diffuser to soften the glow. When head-on, the light washes out skin tones and forms a shadow behind the subject. It's awful, but the effect is even worse on a phone.
One way you could try to get a better shot is to utilize a light source that isn't facing you directly. For example, if there's a cool color coming out of a sign or window, try shooting someone's portrait with that light hitting part of their face. Another option is to use an extra phone, turn on its flashlight and point it at the person or subject from an angle (preferably above). For something a little more dramatic, move it to the left or right. If you can get two phones, put them on opposite sides to balance the light out. It's not a professional setup, mind you, but it will give you way better results.
Follow the 'rule of thirds'
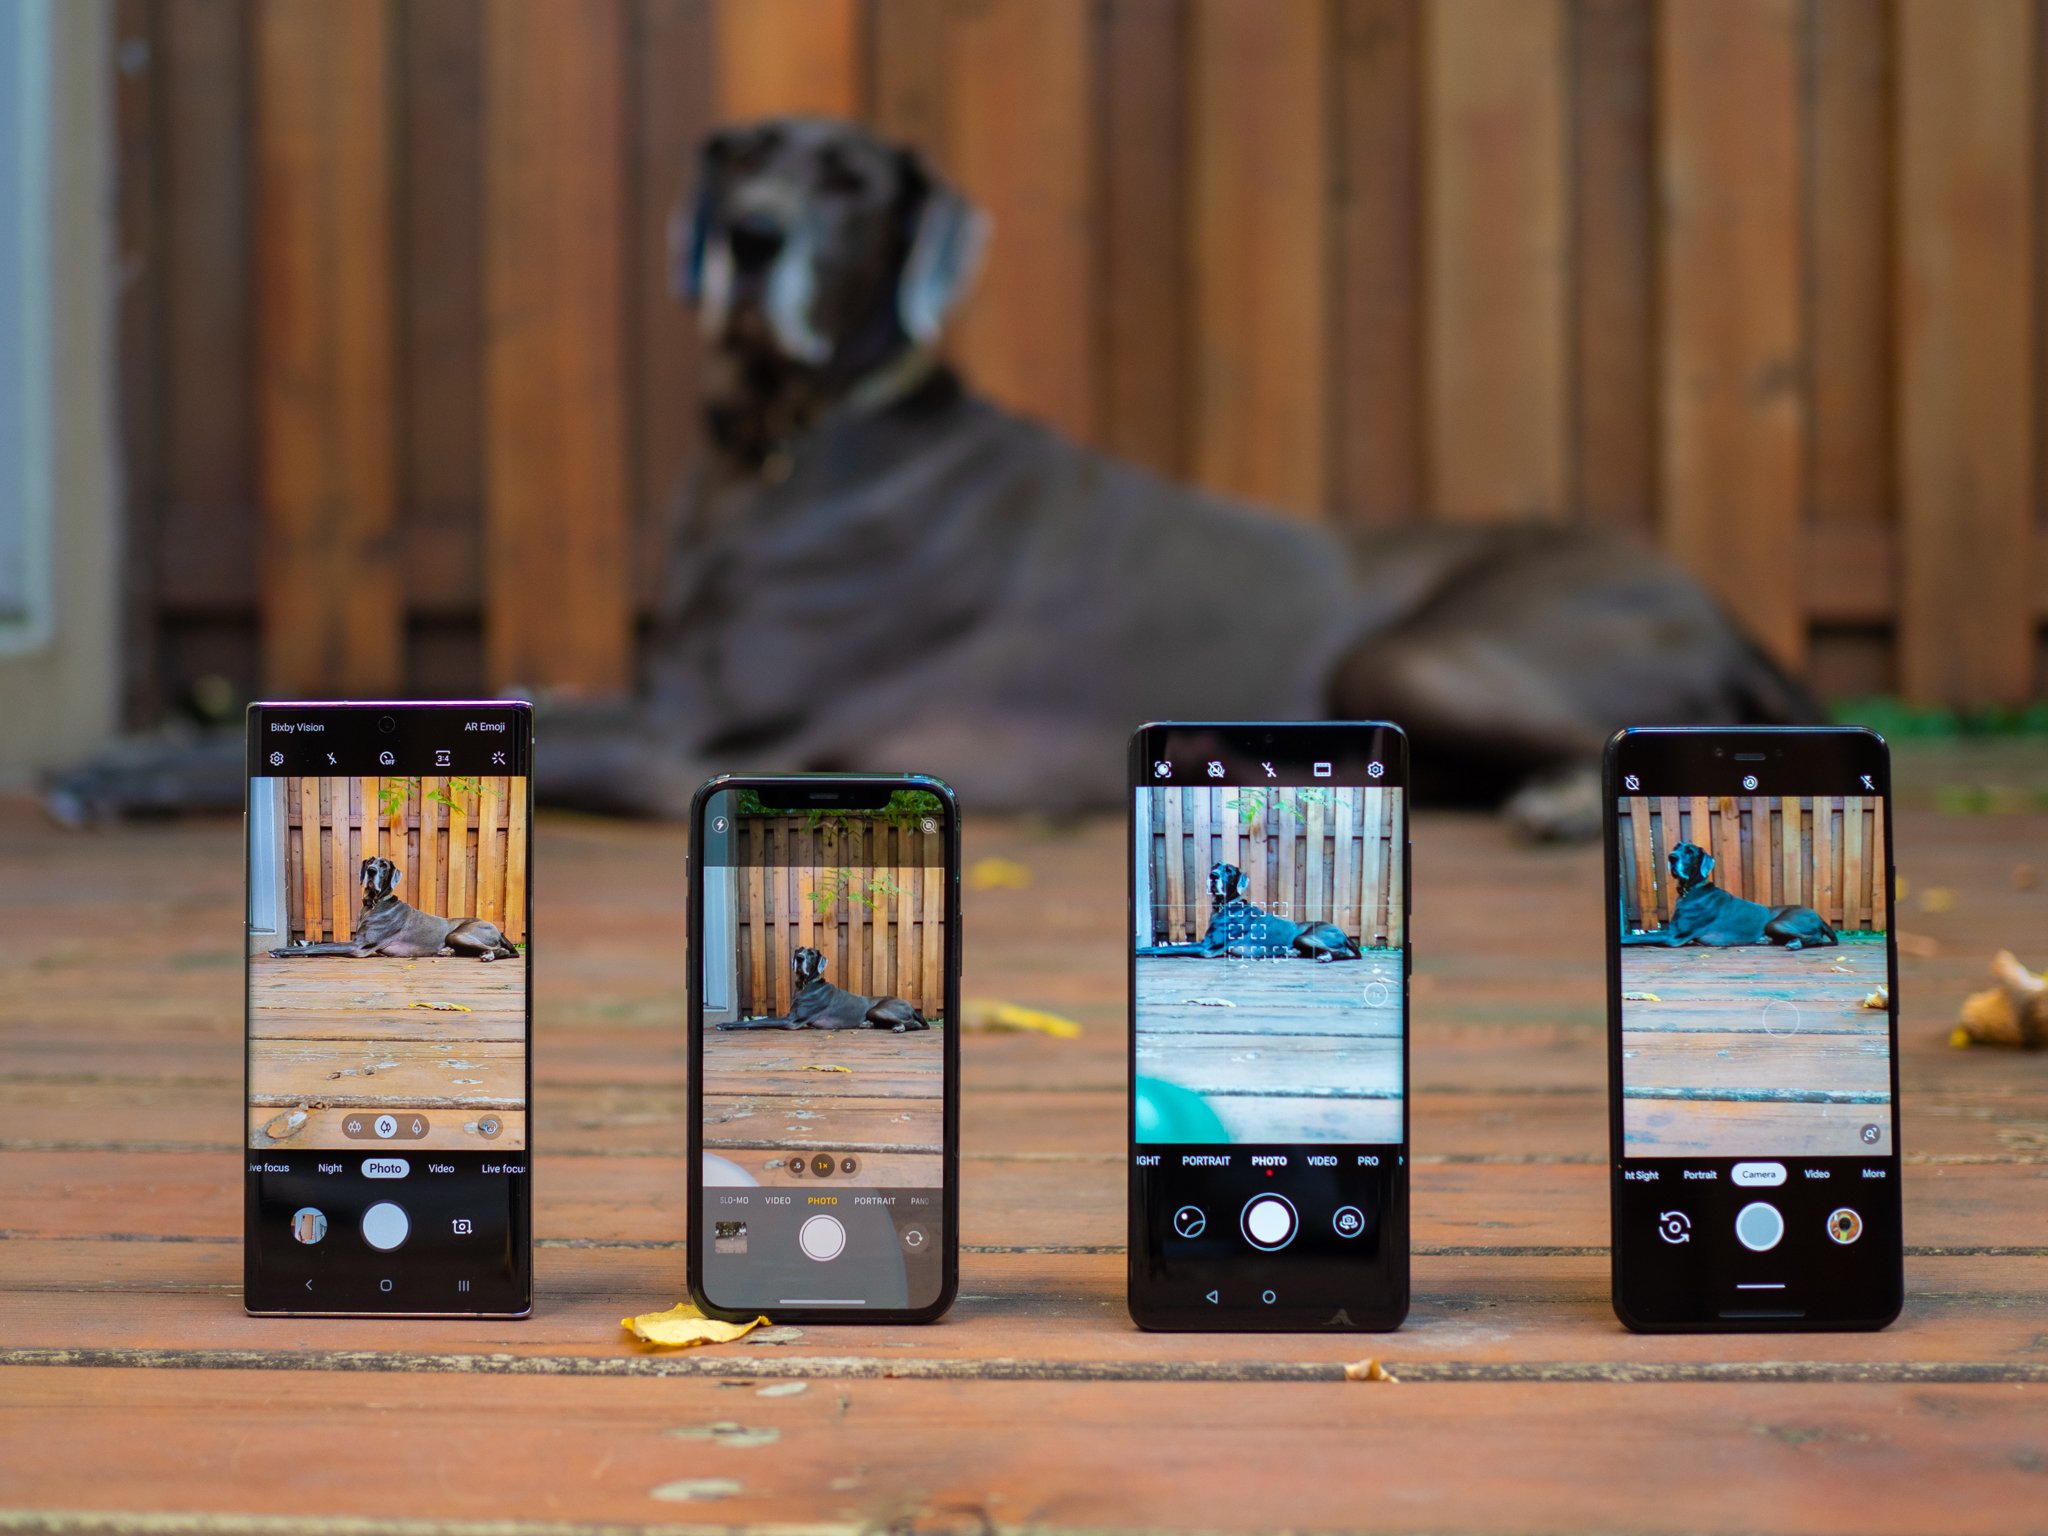
This is a standard fixture in photography, and it boils down to splitting a frame into thirds, both horizontally and vertically. Phone manufacturers offer visible grids in their camera apps partly for this reason.
In the example here, you can see that the primary subject isn't dominating the center of the image. Instead, it's sharing the space with something else that is of interest in the background. Notice how you might angle a selfie to capture more of what's behind you by putting yourself off to the side? Apply that principle to images of other people and things, and you'll find more creativity coming out of you. For instance, the sun doesn't always have to be in the middle when capturing a sunset.
This isn't to say that you should never shoot something in the middle. Symmetrical shots are best when something is spacing them out, but always be on the lookout for how an image might look when split up.
Avoid digital zoom
Digital zoom is nothing more than cropping into the image.
This is one of the mobile photography features I personally hate most. Digital zoom is nothing more than cropping into the image. It reduces the number of pixels available, leading to a blotchy and noisy photo that wouldn't even look good under Instagram's modest standards. Every phone offers digital zoom, but you should resist the temptation to use it.
In some unique cases, there are what are called "hybrid zooms" that combine optical zoom with digital zoom to see further away. Some manufacturers will also use larger megapixel image sensors to crop more without degradation digitally. Samsung does this with the Galaxy S20 Ultra, as do the OnePlus 7 Pro, Huawei P30 Pro and Google's Pixel 4 devices. At 10x zoom, they're not bad and are worth using in bright conditions. Anything higher than 10x is little more than a gimmick.
Shoot in low-light using tripods and flat surfaces
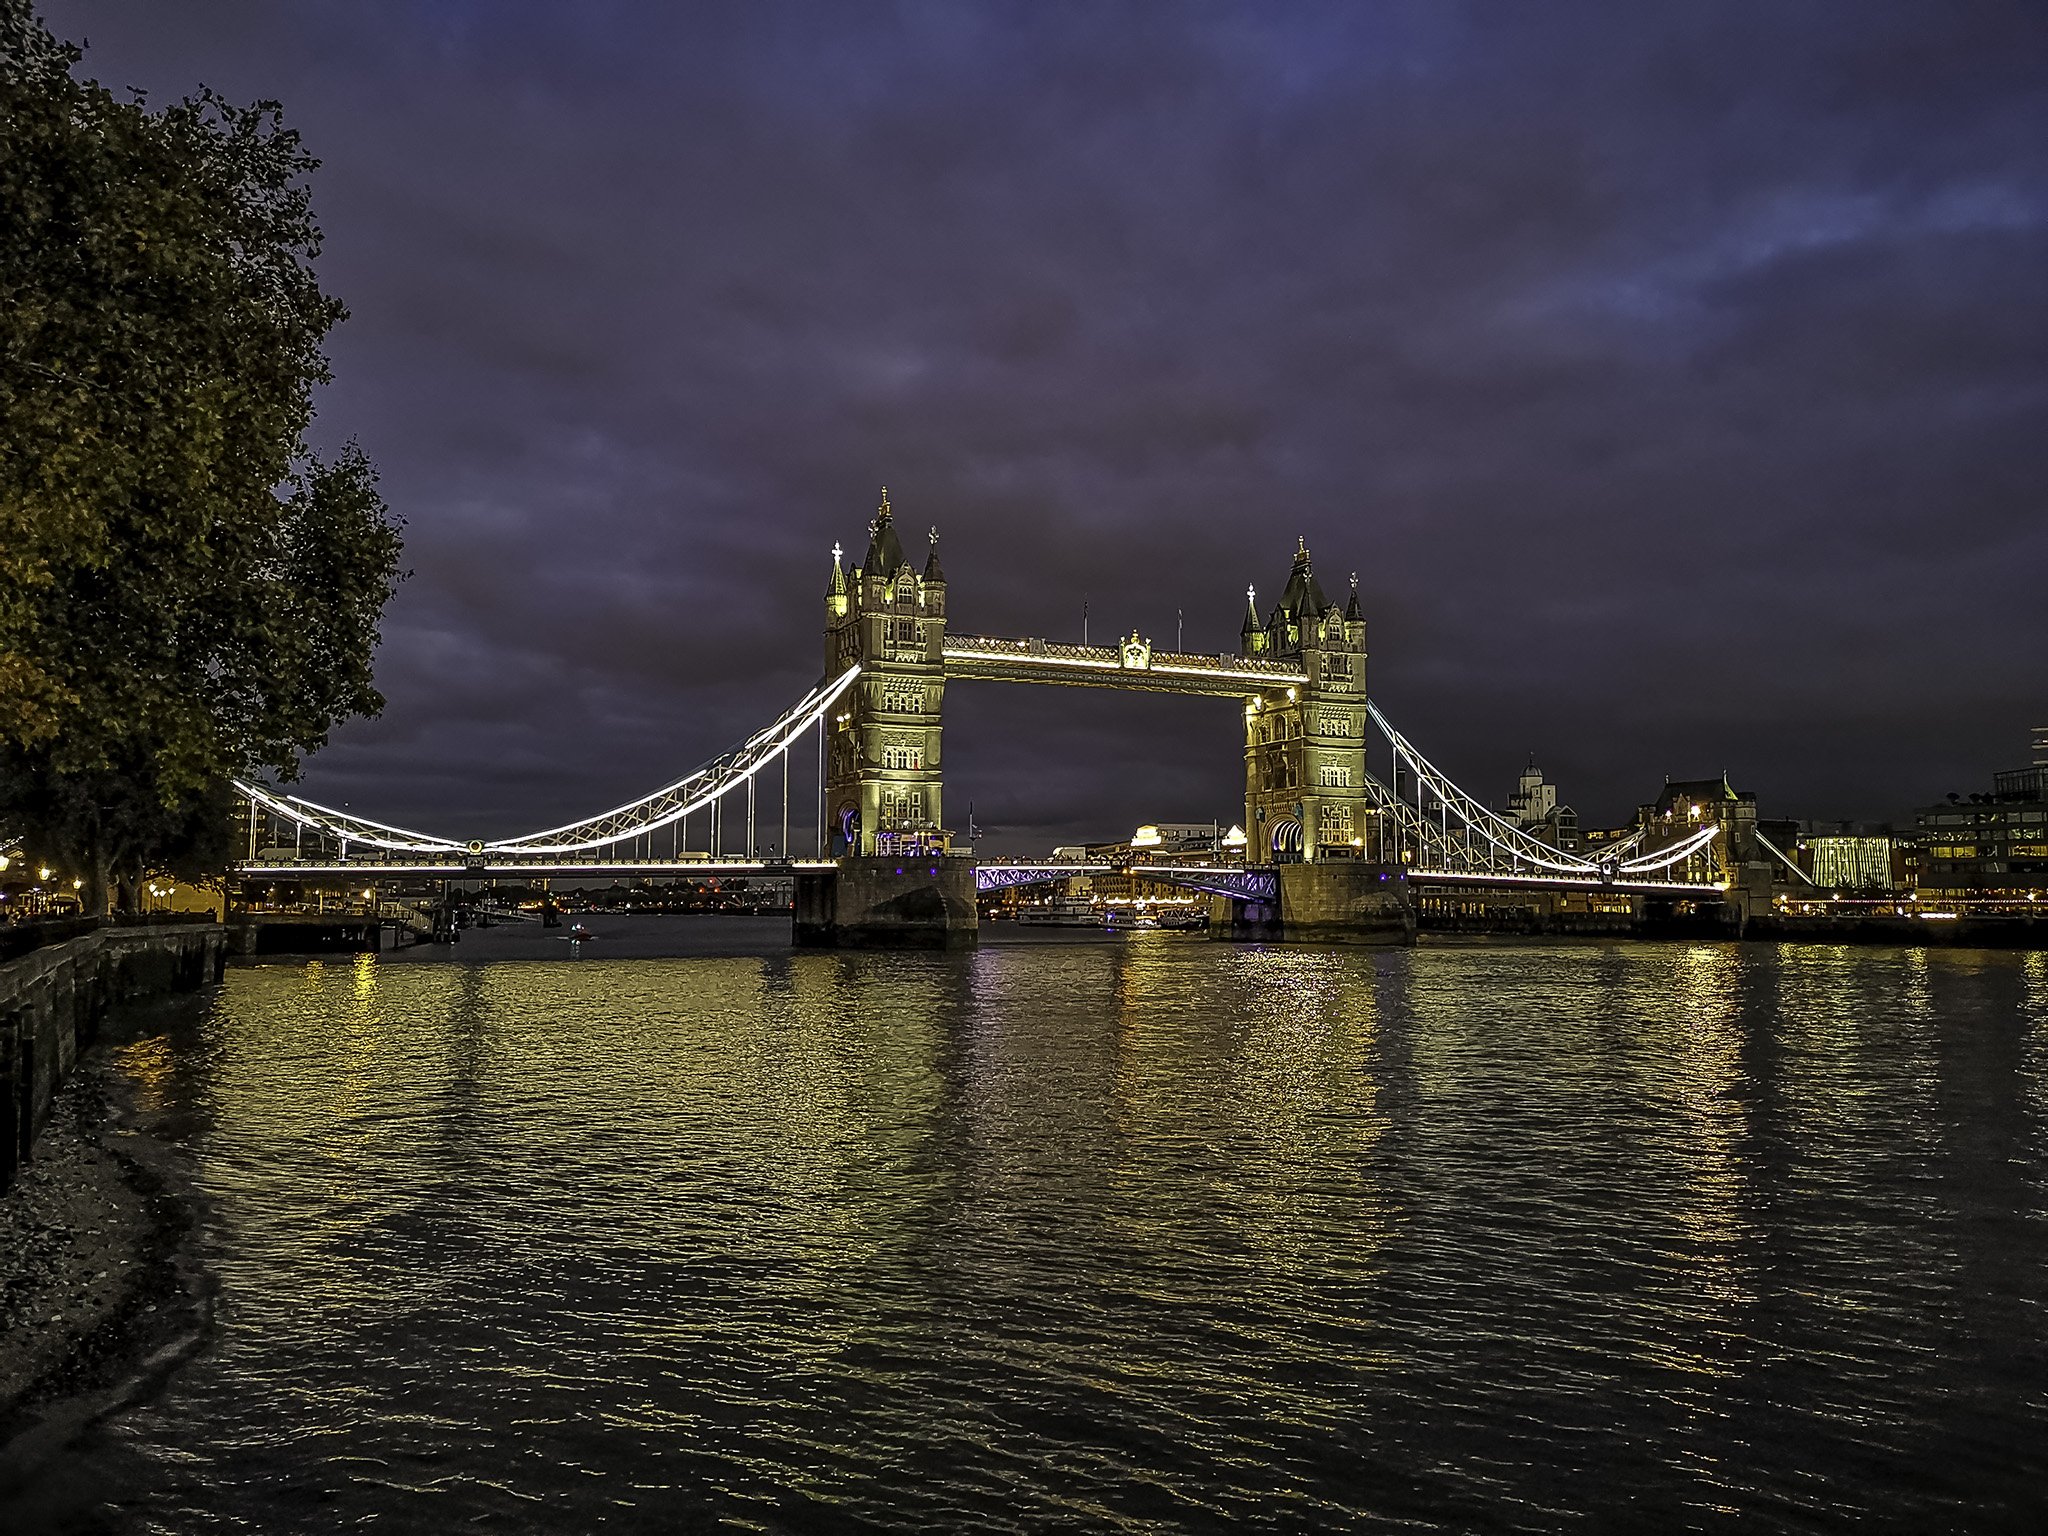
Low-light and night conditions, like cityscapes and other static subjects, pose challenges when shooting with a phone. Handheld long exposure modes, like Google's Night Sight, plus Night modes from Huawei, Samsung, and OnePlus, are great at maintaining sharpness without the need for a tripod or flat surface.
But a tripod or propping up on a flat surface — be it a ledge, chair, or table — can make any low-light shot look even better. Use the timer option and let it shoot on its own without you touching it. Instead of any surfaces or tripods, use the "T-Rex" pose. Keep your arms and elbows tight to your body to stabilize your forearms and hands, while maintaining that stiff posture like a statue when shooting at night or low-light. If you can do that and still make use of a surface, that works, too.
Shoot in Pro mode and RAW
When your phone offers both of these, learn the ropes to graduate to using them. Pro mode (sometimes called Manual mode) gives you a set of controls found in DSLR and mirrorless cameras. These include shutter speed, ISO, white balance, exposure, and more. The beauty of this mode is that you see the visual impact of what setting you chose in real-time onscreen. If a setting makes the image too light or dark, you will know quickly.
Shooting in this mode at night will require a tripod or flat surface because there is no software processing magic happening here. Even less so when shooting in RAW since those files have no processing at all. RAW images are untainted by any built-in software treatments, and generally have much larger file sizes than standard JPEGs. The extra visual information they contain makes them perfect for editing in apps like Adobe Lightroom, Snapseed, VSCO, and Pixlr, among others, where you can extract a lot more detail out of an image.
Other takeaways to consider
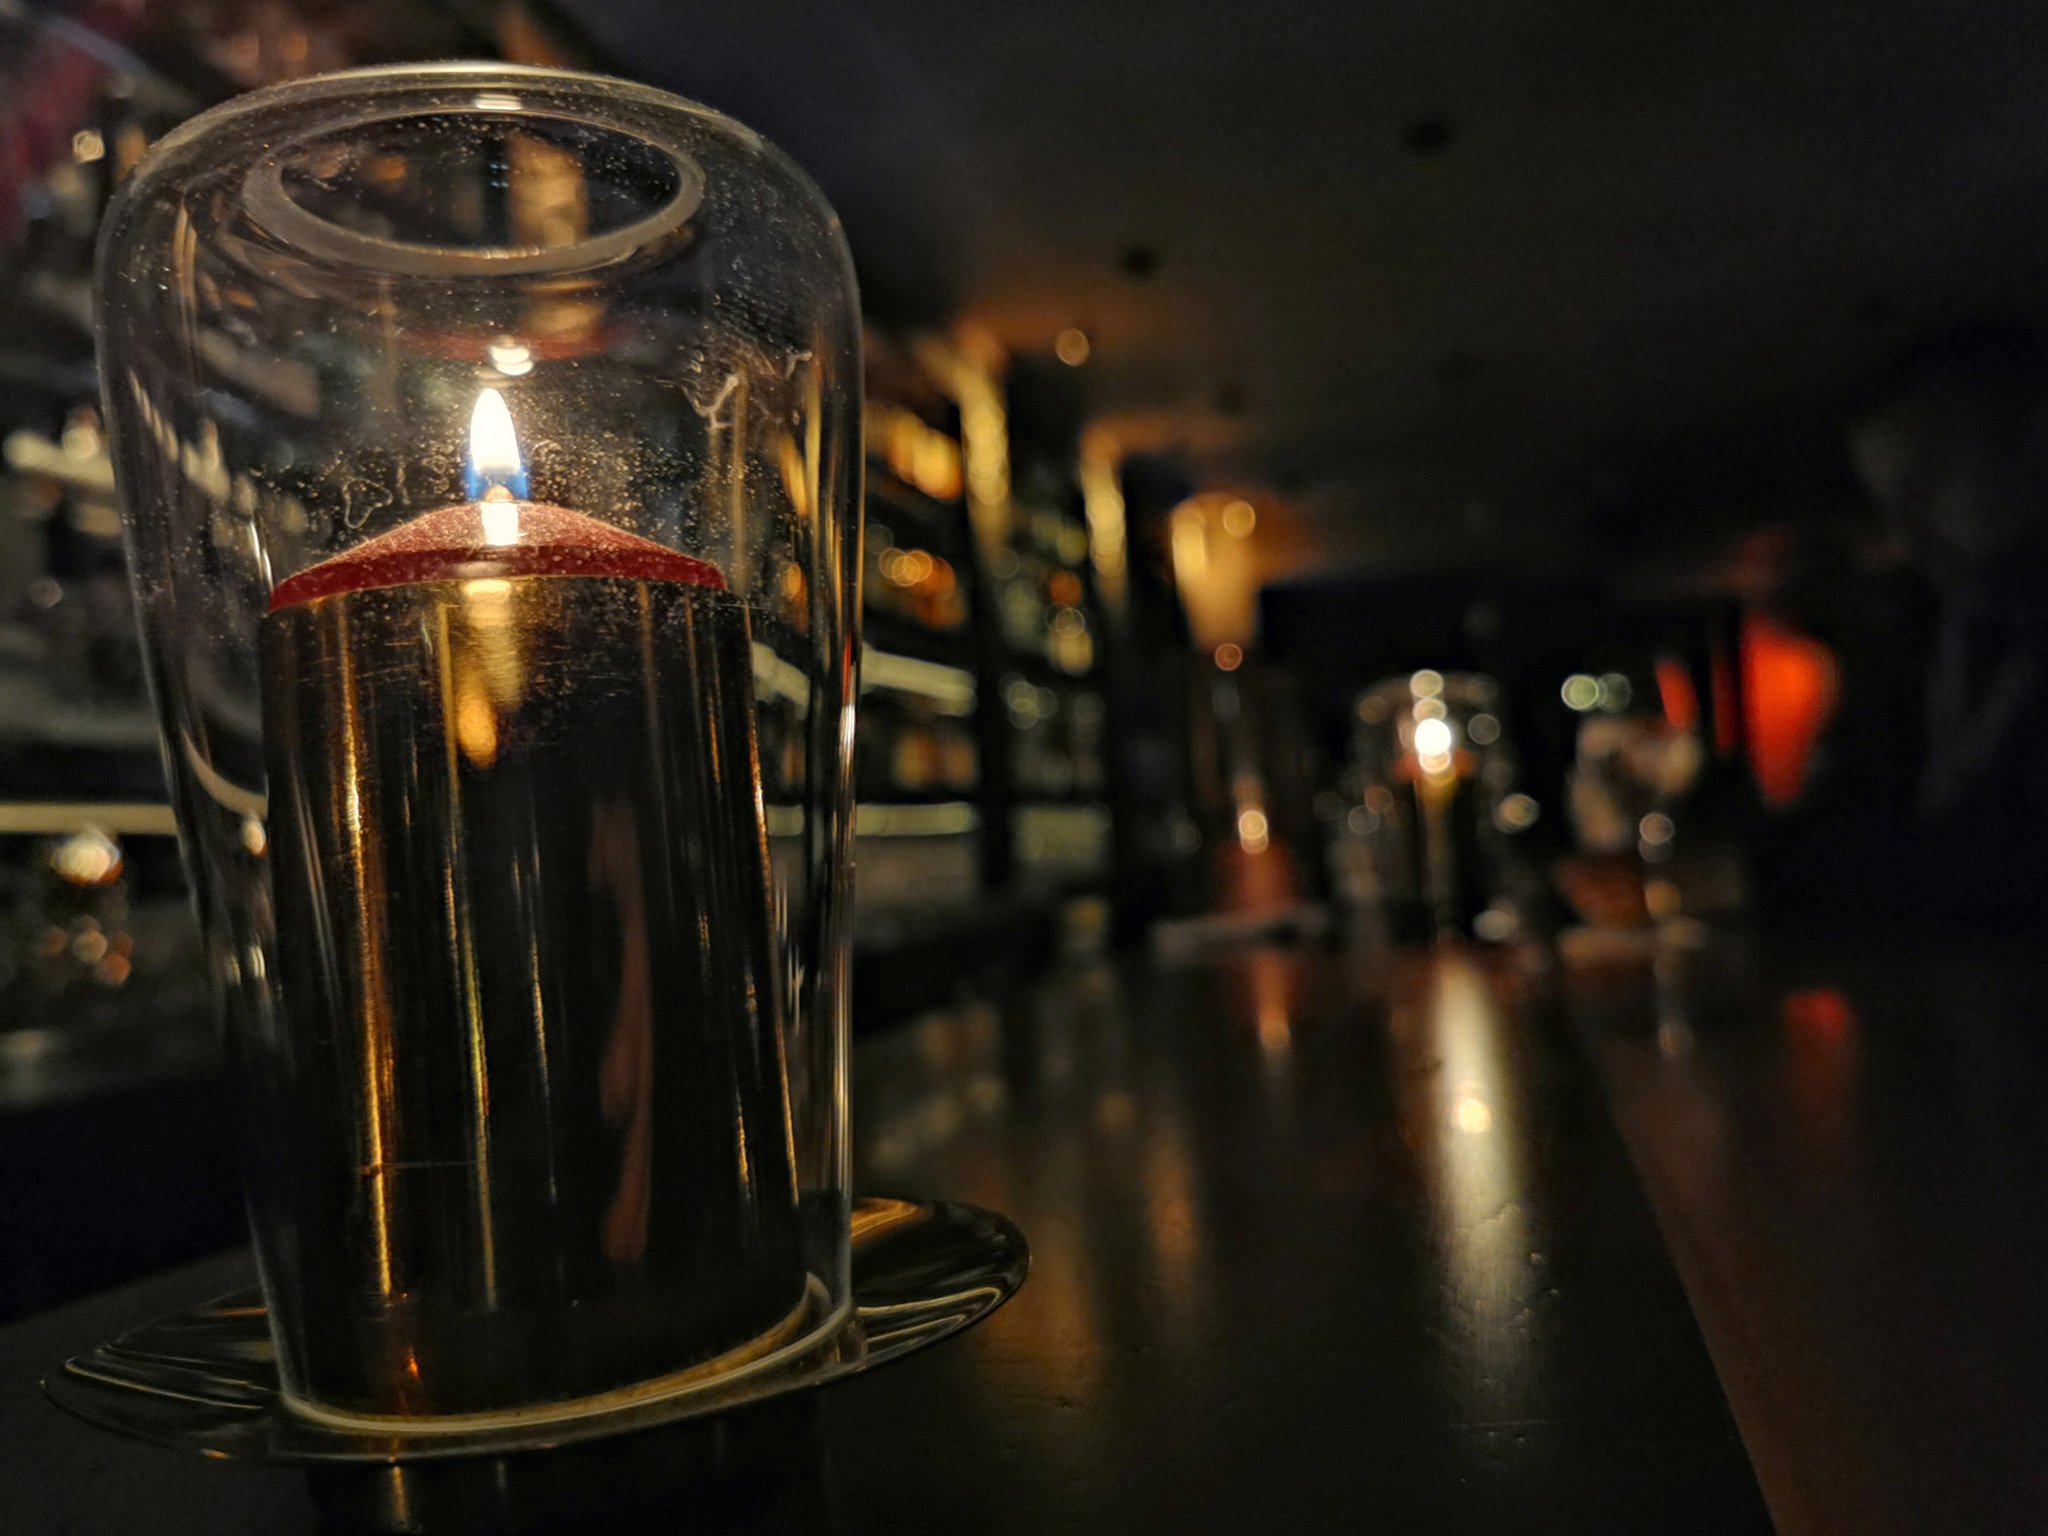
If you want natural bokeh, focus on a closer subject, and the background should fall into a smooth blur. Conversely, if your phone has a portrait mode, try using it on food dishes or single objects in good lighting, and you may get an excellent photo out of it.
Don't always assume the phone gets exposure right every time.
HDR (high dynamic range) has become a popular tool in cameras and apps. If you have the option to shoot with it, try it and see what you get. HDR boosts the brightest and darkest portions of a photo to draw out more detail, so it doesn't appear under or overexposed.
Don't always assume the phone gets exposure right every time. When you tap to focus, it does its best to adjust that, but if you need to raise or lower it to bring out a little more detail (look for the sun icon and slider onscreen), go ahead and do it. You can always pull some additional detail when editing afterward.
Resist the urge to edit by slapping on filters to make the photo look "cool." Chances are, it won't. Consider using other third-party apps outside of the phone's own camera app to edit photos and learn those tools so you can master your own post-processing methods.
Have fun shooting
Photography is about experimenting, so just keep shooting. If it takes several shots to get the "right" shot, so be it. If you didn't get all the shots you wanted at one setting or place, make a note of that for the next time. Your phone's camera is a powerful tool to capture the world around you, and giving each image a quality boost is also in your hands.
from Android Central - Android Forums, News, Reviews, Help and Android Wallpapers https://ift.tt/2wGJgsc
via IFTTT


ليست هناك تعليقات: